Now we start to work, we click new event and give it a name in our case "Journey don't stop believing" afterwards we clicked the reel at the bottom of the screen and clicked select new project and named it what we had named our event. afterwards the screen changed into an exciting timeline and the editing process can begin!
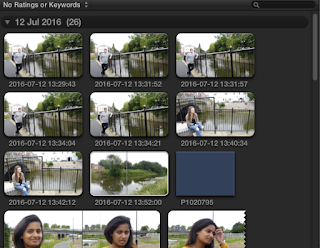
 A box appeared asking us to import media, we clicked yes and selected our external hard drive and found the footage we had recored in Brigg during our previous lesson after importing it we asked it analyse it and look for any issues in the lighting or the sound. After we waited for it to finalised the clips we could start dragging and ordering our clips.
Our clips were shown in this box and worked by selecting them, and then pressing a button which added them to a timeline where you can play them in order. This is a rough guide to how the software works without having to do anything fancy such as matching audio and adding transitions .
But the software does come with many different tool's where you can detach audio files, add transitions between your clips and change how the clip looks as a whole.


No comments:
Post a Comment